Hi all,
Following on from my post above. I now have the new radiator from ax auto parts in France installed:
https://www.axauto-parts.com/mecanique/ ... -2170.htmlThis is along with a modern air con condenser and pipes.As previously mentioned I've been working with Patrick Foster at Fen Air International in Kings Lynn, Norfolk.
http://www.fenair.co.uk/index.htmFen Air specialises in older air con systems for classic cars including Jaguar, Aston Martin, Jensen, Rover, Maserati but this is the first time Patrick has tacked something for a French car, let alone an Alpine!
I had previously posed my old condenser to Patrick so he could see the size of it and where the inlets and outlets were along with the condensers mounting points etc.
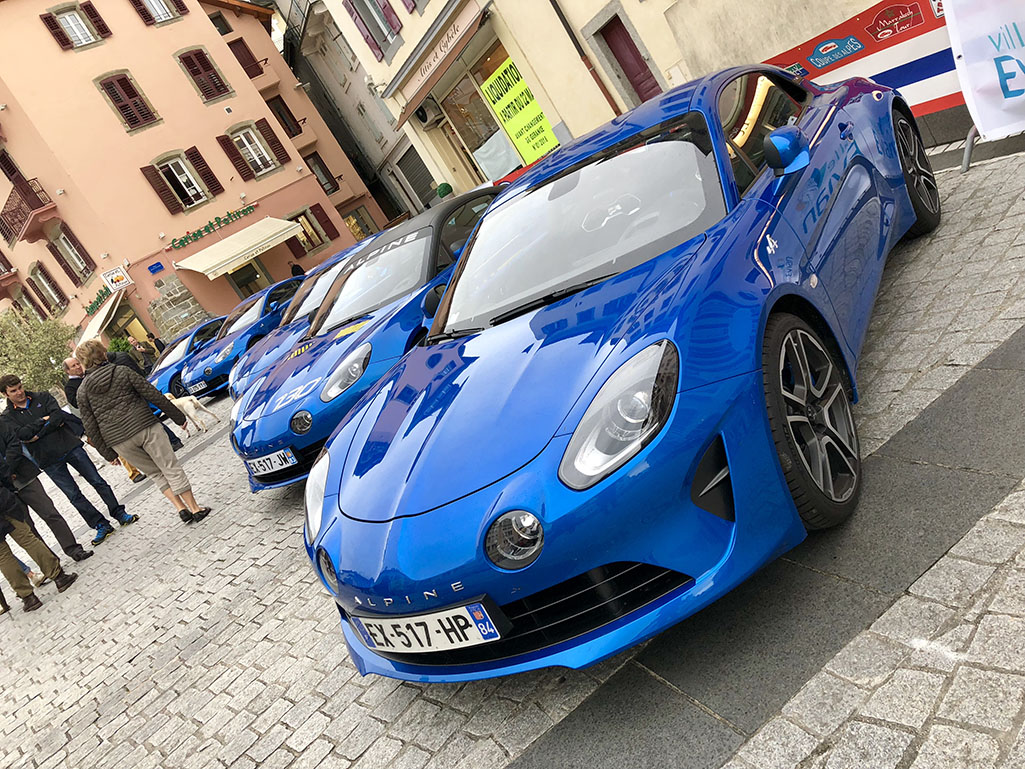
The condenser and pipework that we have gone for is as the above photo but we ended up with a Mk ll versions of the top bracket and the two bottom brackets to ensure the condenser was correctly located which is to the top of the radiator and left of centre to clear one of the condenser outlet pipes.
As you can image quite a lot of 'fettling' was done over a few weeks to ensure everything fitted correctly in place. The old Valeo condenser was in effect a flat slab that sat tight to the radiator, modern condensers have round side pipes so the condenser sits about 10 mm away from the radiator, hence the revised bracketing. The kit comes with two new pipes, one to connect to the solid pipe running under the car and one to connect to the pipe going to the receiver dryer, both of which are R134a compliant.
Patrick also supplied a new Receiver/Dryer, luckily the A610 one is a standard consumer item, used in many applications, its recommended that this is replaced each time a system has been open to the air for some time. I knew that mine hadn't been changed in all the time I had owned the car so was well due for a change. Cost wise for the condenser, two new pipes, top bracket, bottom brackets , new receiver dryer with an R134a port plus postage will be in the region of £400 plus VAT.
The only other modification I had to make was to the plastic air scoop that fits in from of the condenser & radiator and this was to cut out two small areas bottom left and right to accommodate the location of the new pipes...about a 20 minute job.
Now then re gassing, I didn't want to put the bumper assembly and lights etc back on until I had the system charged and working properly in case there were any leaks or problems and again after some research I found a very experienced company in Swindon called Auto Climate Control run by John Andrew:
http://www.autoclimatecontrol.co.uk/ John offers a mobile service and even though I was way out of his normal range he agreed to come out if I paid him some travel expenses..given I'd spent all this time on getting the system installed I didn't want to skimp on the last stage!
Briefly John first of all carried out a Nitrogen test to charge the system and check for leaks whilst doing this he also sprayed a special 'gloopy stuff' on all of the connections to check for any tell tail bubbles of gas escaping, all OK!
He also had a white noise machine and headphones with a probe that can also pick up the minute sound of gas escaping and found a tiny leak on the two seals in the Expansion Valve which involved removing the Valve...no easy job and fitting new seals.
The original plan was to use RS24 gas which John has but when he found out that I have previously had the system flushed and gassed with R134a then John advised that he would have to use R134a again as the oil used with RS24 is incompatible with the oil used with R134a, the two would bind into a sticky sludge that would ultimately clog the compressor...not good! RS24 would have been fine had the system not been converted from the old R12 gas to R134a.
Anyway after recharging with R134a we had a vent temperature of 1 Degree Centigrade, a great result.
I realise there is a lot to take in and I've only covered some of the points briefly but if anyone wants to contact me to discuss what I have done and the problems that had to be overcome then please do give me a call on 07811 979396.
Cheers, Barry.